Template Language - Basic PHP Blade
Nov. 28, 2022 · 12 min read
As the web got faster and better, the user started to want better-looking website designs that they can interact with. What makes a website great? how does this affect the user volume of your website? we already know that building a usable and functional website is hard especially if you are building it from scratch.
Back in the day web designing was only focused on the web itself, however, as the internet evolve we developers started to create new ways of building a functional website. Utilizing tools and frameworks that are meant to aid the hardships in developing a functional website. In this article, we will focus on the blade a simple yet powerful templating engine that was developed for PHP.
Objectives
This article will focus on the following:
- What is blade?
- Advantages of using blade over other php frameworks
- Basic introduction on how can you use blade in your projects.
Blade Introduction
What is blade?
The blade is a robust templating engine. Blade simplifies the use of the templating engine. Conditional statements and loops are provided by the blade templating engine. To make a blade template, you just create a file and save it with the.blade.php extension rather than the.php extension. The blade templates are kept in the directory /resources/view.
Why blade is popular?
Unlike other popular PHP templating engines, Blade can integrate templates with a data model without increasing app complexity. It also provides developers with control structures such as conditional ‘if’ statements, loops, and comments. These are equivalents that are internally mapped to PHP.
Blade for your projects
You can use blade to handle the following:
- Displaying data
- Blade directives
- Components
- Building layouts templates
- Rendering Blade fragment
- Forms
- Stacks
- Service Injection
- Rendering Inline Blade ts
- Extending Blade
These are the things you can do with the blade. However, since we are just getting started with a blade, let’s keep it simple and easy for you.
Let’s try blade for the first time using Laravel framework

Every blade file end with a must-have extension of blade.php. You can create your blade file in any directory you want, but it’s a best practice to place your blade under resources/views which most of your blades are located inside.
Inside your blade file your try to input this simple Html tags
1
2
3
4
5
6
7
<div>
<center>
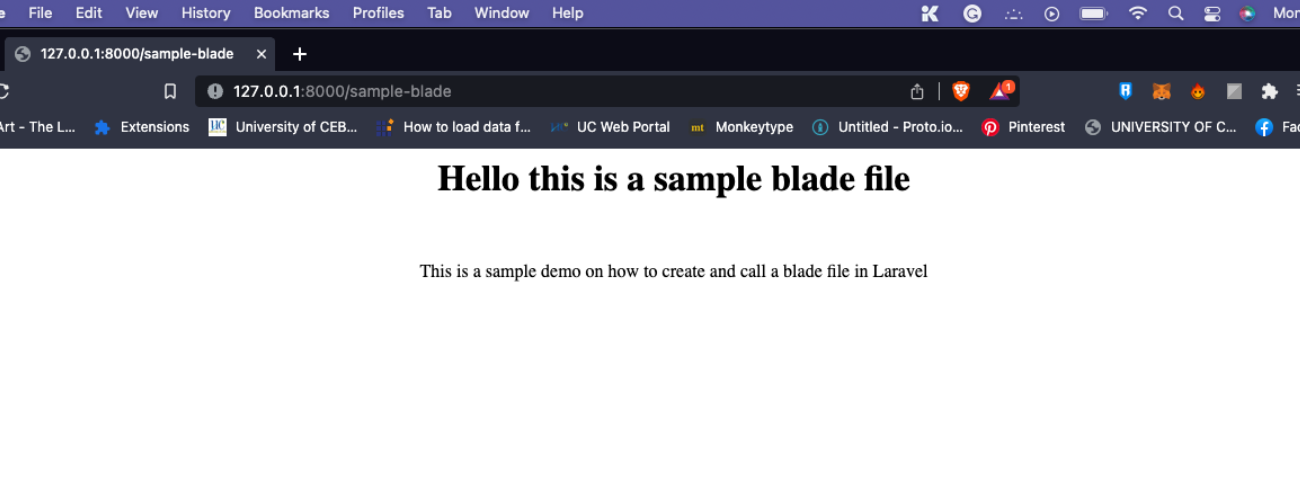
<h1>Hello this is a sample blade file</h1>
<br>
<p>This is a sample demo on how to create and call a blade file in Laravel</p>
</center>
</div>
Calling your blade file using route
To locate your route go to routes folder/ directory and open web.php in this file your can call directly call your blade file to display on your local webpage
Create a route for your blade file:
1
2
3
Route::get('/sample', function () {
    return view('sample-blade');
});
if you can successfully, display the following blade commands on your local webpage that’s awesome!
It should look like this by:
Displaying data with blade
Displaying data in you using your blade file, you can wrap your variable using curly brackets ``
Let’s try this, in web.php you can edit your route to display a variable value inside your blade file. In your route name sample-blade you can add ,[variableName]=> 'variableValue' it should look like this:
1
2
3
Route::get('/sample-blade', function () {
    return view('sample-blade', ['petName' => 'Spike']);
});
for this example, we are going to display the called petName with the value of Spike.
Now let’s edit your blade which we can call you variable petName to be displayed on your local webpage.
1
2
3
4
5
6
<div>
    <center>
        <h1>The name of my pet is : </h1>
        <p>She loves to eat her treats!</p>
    </center>
</div>

When working with Javascript framework
Because many JavaScript frameworks utilize "curly" brackets to signal whether or not an expression should be shown in the browser, you may use the @ symbol to tell the Blade rendering engine that an expression should be ignored.
Sample:
1
2
3
<h1>My petname</h1>

Hello, @.
Blade directives
In addition to data display, Blade includes handy shortcuts for standard PHP control structures like conditional statements and loops. These shortcuts allow you to interact with PHP control structures in a very clean while remaining concise and familiar to your PHP counterparts.
if statements
Inside your blade file, you can perform a conditional statement by adding @ in your conditional statement @if, @elseif, @else, and @endif.These directives function identically to their PHP counterparts.
Reminder in using @if statements you need to end it with @endif to close your conditional statement.
let’s try code it
In your blade file sample-blade we will add conditional statements that you can try. This is what will gonna do, we will call our variable petName and if the value of petName is equal to the value we set in our statements it will prompt a message.
1
2
3
4
5
6
7
8
9
10
11
12
13
<div>
    <center>
        <h1>Guess the petname</h1>
        <h2>
            @if ($petName == 'Luna')
                your correct!
            @else
                your wrong!
            @endif
        </h2>
    </center>
</div>
Looping inside blade
Blade offers straightforward directives in addition to conditional statements for interacting with PHP’s loop structures. When looping inside blade as I’be mentioned above each of your statements must have a closing statement.
In blade looping you can perform the following looping statements:
for loop:
1
2
3
@for ($i = 0; $i < [size]; $i++)
    This is number:
@endfor
foreach loop:
1
2
3
@foreach ($items as $item)
    <p>This is user </p>
@endforeach
while loop:
1
2
3
@while (item != 0)
    <p>This is a number </p>
@endwhile
When you are looping, you can use the @continue and @break statements. to continue the loop or stop it.
Loop variable
The loop variable can be used, you are using for each loop inside of your loop, this variable can access the bits of information inside such as index, first, and last.
$loop variable:
1
2
3
4
5
6
7
8
9
10
11
@foreach ($items as $item)
    @if ($loop->first)
        This is the first iteration.
    @endif

    @if ($loop->last)
        This is the last iteration.
    @endif

    <p>This is user </p>
@endforeach
In addition, the $loop variable has a number of other helpful properties that you can use:
| Property | Description |
|---|---|
| $loop->index | The index of the current loop iteration (starts at 0). |
| $loop->iteration | The current loop iteration (starts at 1). |
| $loop->remaining | The iterations remaining in the loop. |
| $loop->count | The total number of items in the array being iterated. |
| $loop->first | Whether this is the first iteration through the loop. |
| $loop->last | Whether this is the last iteration through the loop. |
| $loop->even | Whether this is an even iteration through the loop. |
| $loop->odd | Whether this is an odd iteration through the loop. |
| $loop->depth | The nesting level of the current loop. |
| $loop->parent | When in a nested loop, the parent’s loop variable. |
Blade conditional classes
list of conditional classes that you can use in blade
| Conditional classes | Description |
|---|---|
| @class | directive conditionally compiles a CSS class string. Accepts an array of classes where the array key contains the class or classes you want to add |
| @checked | Indicate if a given HTML checkbox input is “checked”. This directive will echo checked if the provided condition evaluates to true |
| @selected | Used to indicate if a given select option should be “selected” |
| @disabled | Used to indicate if a given element should be “disabled” |
| @readonly | Used to indicate if a given element should be “readonly” |
| @required | Used to indicate if a given element should be “required” |
Samples implementation
@class
1
2
3
4
5
6
7
8
9
10
11
12
@php
    $isActive = true;
    $hasError = true;
@endphp

<span @class([
    'p-4',
    'font-bold' => $isActive,
    'text-red-500' => ! $isActive,
    'bg-red' => $hasError,
])></span>
@checked
1
2
3
4
5
6
7
8
9
@php
    $user = 'active';
@endphp

<input type="checkbox"
        name="active"
        id="checked"
        value="active"
        @checked(old('active', $user)) />
This @checked will return evaluates if the checkbox was checked then it will return true or false otherwise. If you want to know about blade conditional classes you can try searching on the web and try to implement it yourself.
Building layouts with blade
The majority of web applications have the same overall layout across all of their pages. If we had to duplicate the full layout HTML in each view we created, it would be tremendously time-consuming and difficult to maintain our program. We can thankfully define this layout as a single Blade component and use it throughout the rest of our application.
Blade with bootstrap layout design for your front-end design
In this example let’s create a design for our blade file sample-blade. Let’s define a new blade file called sample-design.blade.php. This blade fill will hold all of our important bootstrap content for your blade design.
After you can create your blade file, let’s open your sample-design file and importantly some bootstrap design for our front-end design.
1
2
3
4
5
6
7
8
9
10
11
12
<html>
<head>
    <title>[url-name] @yield('title')</title>
    <link href="https://cdn.jsdelivr.net/npm/bootstrap@5.2.3/dist/css/bootstrap.min.css" rel="stylesheet" integrity="sha384-rbsA2VBKQhggwzxH7pPCaAqO46MgnOM80zW1RWuH61DGLwZJEdK2Kadq2F9CUG65" crossorigin="anonymous">
</head>
<body>

<div class="container">
    @yield('content')
</div>
</body>
</html>
Let me explain what’s happening in this example. In your blade-design file in your title tag, you will be able to change what is the name of your application gonna be, and we utilize @yield in which yield is used to define the content of your current blade file calling from the master page which is the sample-design file you created.
In your head tag we import a bootstrap of the bootstrap toolkit for their front-end design. which include CSS and JavaScript
To utilize your import let’s edit your sample-blade. In your blade file. remove the content and replace it with the below:
1
2
3
4
5
6
7
8
9
10
11
12
13
14
15
16
17
18
19
20
21
22
23
24
25
26
27
28
29
30
31
32
33
34
35
36
37
38
39
40
41
42
43
44
45
46
47
48
49
50
51
52
53
54
55
56
57
58
59
60
61
62
63
64
65
<div>
<center>
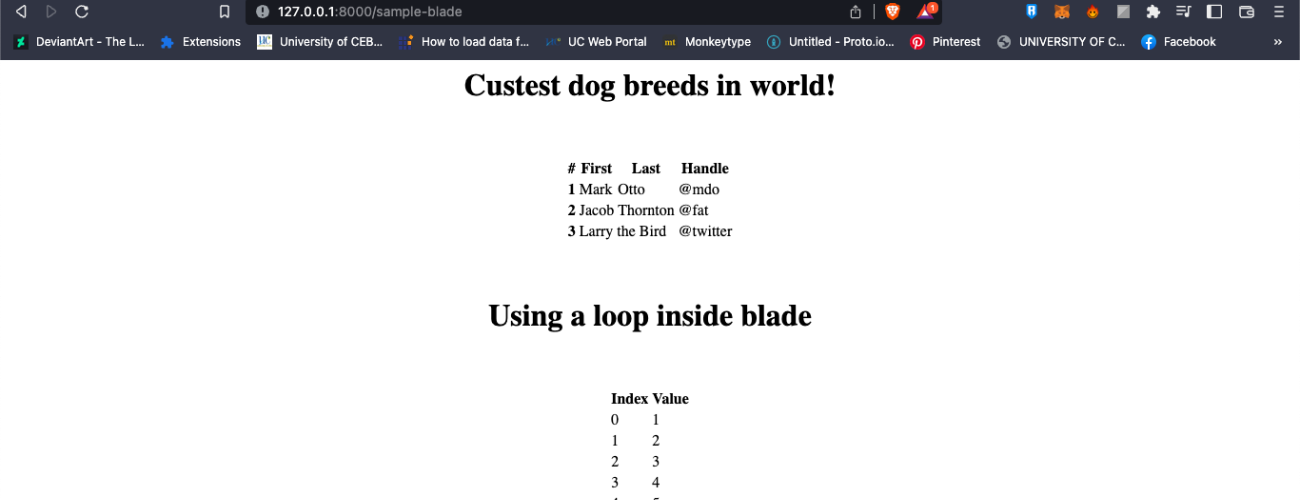
<h1>Display user information</h1>
<br>
<br>
<table class="class">
<thead>
<tr>
<th scope="col">#</th>
<th scope="col">First</th>
<th scope="col">Last</th>
<th scope="col">Handle</th>
</tr>
</thead>
<tbody>
<tr>
<th scope="row">1</th>
<td>Mark</td>
<td>Otto</td>
<td>@mdo</td>
</tr>
<tr>
<th scope="row">2</th>
<td>Jacob</td>
<td>Thornton</td>
<td>@fat</td>
</tr>
<tr>
<th scope="row">3</th>
<td colspan="2">Larry the Bird</td>
<td>@twitter</td>
</tr>
</tbody>
</table>
<br>
<br>
<h1>Using a loop inside blade</h1>
<br>
<br>
<table class="class">
<thead>
<tr>
<th scope="col">Index</th>
<th scope="col">Value</th>
</tr>
</thead>
<tbody>
@for($i = 0; $i < 5; $i++)
<tr>
<td></td>
<td></td>
</tr>
@endfor
</tbody>
</table>
</center>
</div>
Let’s run it in your local webpage, it should look like this:
Now let’s import the bootstrap layout we define earlier from our sample-design.blade.php file. To import that file we need to use @extends to use all the properties belonging to that blade file.
So add this code at the top of your sample-blade
1
@extends('sample-design');
and in your table tag change the class to this following statement:
1
class="table table-striped"
or
1
table table-dark table-striped
It should look like this by now.
Additionally, here the other layout inheritance for blade directives that you can use.
| Layout inheritance directives | Description |
|---|---|
| @extends | specify which layout the child view should “inherit” |
| @section | Views which extend a Blade layout may inject content into the layout’s sections |
| @yield | used to display the contents of a given section |
| @section | defines a section of content |
| @parent | master layouts or base layouts for views in your application, and typically, you will need to inherit those layouts from child views |
Summary
As the web got faster and better, the user started to want better-looking website designs that they can interact with. Back in the day web designing was only focused on the web itself, however, as the internet evolve we developers started to create new ways of building a functional website.
The blade is a robust templating engine, blade simplifies the use of the templating engine. Unlike other popular PHP templating engines, Blade can integrate templates with a data model without increasing app complexity. It also provides developers with control structures such as conditional ‘if’ statements, loops, and comments.
Note: This article will be update soon. Thank you